Netgear EX6120 Setup

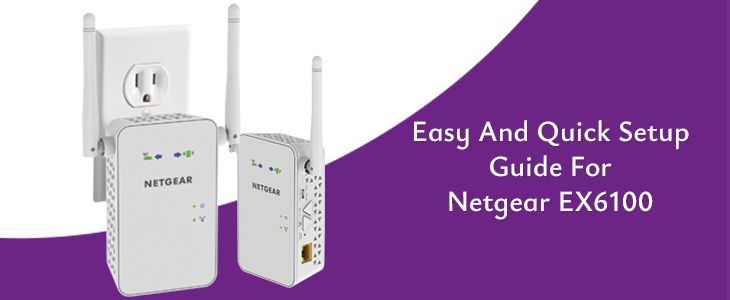
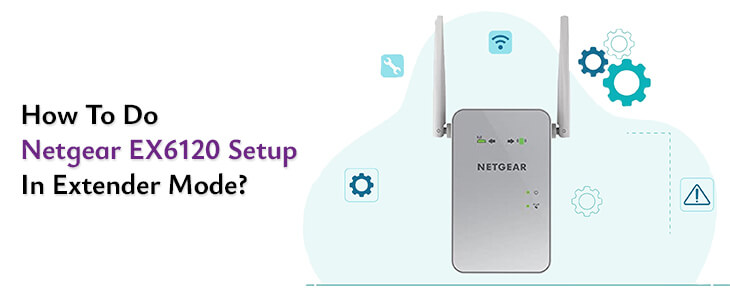
How To Do Netgear EX6120 Setup In Extender Mode?

Netgear EX6120 is a device that can be set up in extender mode as well as access point mode. Today, in this article we are going to elaborate how to do the setup in extender mode. Netgear EX6120 Setup will not take too much time. Anyone can do the setup with a little knowledge about the process. With the device you can extend your current network and eliminate WiFi dead zones from your space. Our guidance will surely help you with the setup of the Netgear EX6120 device. Read out the further given content of this page to know in detail.

Netgear EX6120 Setup Process

Setting up the device in extender mode can be done through two ways. First method is WPS which is much easier than the other (web) method. Web based Netgear EX6120 Setup will take a little longer time than the WPS method but it allows you to enhance security of the network. Check out the step by step guide to follow in both the methods.

WPS Setup of EX6120

WPS based setup of your netgear EX6120 is quick, easy & straight. Anyone can do it within 10 minutes. Using this method has a drawback, you can’t set a separate SSID & password for your extended network. The same SSID with _EXT will be created automatically as the setup completes. Also you have to use the same password as your existing network has to use the new created network. Steps to proceed with WPS based method includes:

  • Begin the process by powering your new netgear EX6120 device.
  • Thereafter check its LED and when it stables then proceed the setup by pressing WPS button.
  • Hold it for 6 seconds and then release it to move ahead.
  • Next you should press the WPS on your home network device (host).
  • This whole process should be completed within 2 minutes to avoid failure.
  • Wait and monitor the device till its LED turns solid green in color.
  • In case the device LED doesn’t turn solid green or display any other color it signifies the process fails.

Web Setup of EX6120

  • To begin the Netgear EX6120 Setup using this method requires a computer or laptop device with an updated web browser version.
  • Secondly, you need to turn the power on by connecting the Netgear EX6120 device to the power.
  • Once the device power is on you need to start configuring it by connecting a device with its network.
  • Thereafter you should open the web browser you have in the device and then search for mywifiext.net
  • Access the portal and search for new extender setup option to proceed with Netgear EX6120 Setup
  • Move further by following the on screen guide and create a netgear account
  • Choose the “WiFi range extender” option from the opened screen.
  • Proceed with selecting your home network SSID and then provide the password as well.
  • Choose the connect option from the screen to complete the setup process.
  • Create a SSID for your new extender device & a password too.
  • You may use the similar SSID & password as your current network has.
  • Furthermore, we advised to keep a secured password to protect any unauthorized access.
Netgear EX6100

Easy And Quick Setup Guide For Netgear EX6100

It is so common to face connectivity issues and dead spots when you only rely on routers. So it’s high time to get wifi range extenders. As they not only provide solutions to connectivity issues but also improve the overall performance of existing wifi networks. When it comes to range extenders, nothing beats Netgear EX6100 Setup. This magical range extender is the perfect choice for extending both office as well as home networks. With its successful installation you get to enjoy high speed and wider coverage in every single corner.

Overview Of Netgear EX6100 Range Extender

It is a little box with so many great features. The Netgear EX6100 Setup provides fast internet speeds of upto 750Mbps. Additionally, the fast lane technology with the use of dual bands creates a one high band connection. Further with the presence of Ethernet Port you can easily connect wired devices for direct connection. Moreover the external antennas are a game changer as they provide stable and wider coverage.

To be specific on the front panel of the extender you get different smart LED light indicators. These indicators help in the easy installation process as well as clearly depicts the actual working of the extender.

Whereas on the side panel of the Netgear EX6100 Setup you get one Ethernet port, power On/off button, WPS button, a Reset button and lastly a access point/extender switch button.

Installation Steps

Now as you are familiar with the complete feature set of Netgear EX6100 Setup, it’s time to move forward to the installation process.

Step 1: Place The Extender And Power It On.

NETGEAR recommends users to place the EX6100 near to the router during initial setup. As the installation completes, you can move the extender to a desired location which is ideally halfway from the router and the area with connectivity issues.

After the placement, plug in the EX6100 to a power source. Power it on and wait for the power LED on the front panel to turn green. If the power LED doesn’t light up then turn on the power button from the side panel of the extender. Further ensure the switch on the Netgear EX6100 is set to “EXTENDER” as the WPS method is for that only.

Step 2: Connect With WPS

With the WPS based Netgear EX6100 Setup method you do not need to enter the username or password. Simply push the WPS button from the side panel of the EX6100 wifi range extender. Wait for the WPS LED on the front panel to blink Green. It indicates that the extender is ready for the WPS connection with the router. Now within less than two minutes push the WPS button on your home router. The whole setup process gets completed within a few seconds and eventually the WPS LED stops to blink and turns solid green.

Lastly, check the router link LED on the EX6100 extender. If it is solid green then the connection is best and successfully done.

Step 3: Connect And Relocate

Finally, connect your devices to the new network. For easy identification the newly extended network name of the EX6100 will now have _EXT added at the end. Connect to it by using the same security key (password) as that of your router. Once connected check the client link LED. It should be solid green for the best connection.

Netgear Extender Setup

Complete Guide to 192.168.1.250 Netgear Setup

The use of the internet in our daily lives is very vast and common. Due to which one single router cannot fulfill all the needs effectively. Users either face the issues of dead zones, intermittent internet connection or poor connectivity and much more. This is where the Netgear Extender Setup comes in for the rescue. The successful setup of the Netgear Extender can make a huge difference. It not only covers your entire area but also provides fast and reliable internet connection to your each device. So, this guide will walk you through the 192.168.1.250 netgear setup process. To get the complete insights, keep on reading.

Steps For 192.168.1.250 Netgear Setup

The Netgear Extender Setup steps are very easy and simple to perform. Even the person who does not possess any technical skills can complete the setup independently.

Step 1: Power On

Firstly, plug in the Netgear Extender into a power outlet and switch it on. The power LED should light up. In case there is no light then push the power on/off button.

Step 2: Connect

Now for the further Netgear Extender Setup, select any smart device. Connect the device to the extender’s default wifi network. To connect, turn on the wifi and connect to the network name NETGEAR_EXT. Although it is an open network, in case the password is asked then enter “password” as a default password.

Step 3: Open An Internet Browser

Further, on the connected device open any internet browser like Google Chrome, Firefox, Safari or any other of your preference. But be sure that the chosen browser is updated and all the caches and cookies are cleared.

Step 4: Log In

To log in first go to the address bar of the browser and type 192.168.1.250 and press Enter. Alternatively you can also use the default web address for accessing the login page. The default web address is http://mywifiext.net. Now, enter the details and tap on “Log In”. Now after you login, tap on “NEW EXTENDER SETUP”.

Step 5: Follow The On-Screen Instructions

The last step for completing the Netgear Extender Setup is to follow the on-screen prompts precisely. It includes selecting the name of your local wifi network and entering its password. As the setup completes, check the connection by connecting your devices to the extended network.

Netgear Extender Setup Using WPS Method

If by any chance the 192.168.1.250 netgear setup doesn’t work for you or you are simply looking for an alternative to the above method then here you go. The WPS method is the least time consuming. All you need to do is just push the WPS button for the setup. But here the essential requirement is that your router should also have a WPS button.

  • So first place the Netgear range extender near the router.
  • Also make sure there are no physical barriers or obstructions in the middle of both the devices.
  • Now power on the extender and wait until the power LED turns solid.
  • Further press the WPS button first on the Netgear Extender and within the next 30 seconds push the WPS button on the router.
  • Once the synchronization is done, the WPS led on both the devices that is router and the Netgear Extender will turn solid thus indicating a successful Netgear Extender Setup.
  • Lastly, you can unplug the extender and move it to a new location where you were facing connectivity issues. But make sure it is within the range of the host router. To know about the same, take the help of the smart LED light indicators.
Disclaimer:- mywifiextlogsetup.com website is for customers who are seeking technical help and technological assistance/support service for WiFi extenders, routers, and WiFi networks. However, we do not have any endorsement, alliance, or affiliation with any brands neither direct nor indirect. All the images, brand names, product models, and logos are only for illustrative purposes. Guidelines provided on the website are solely for informational purposes. Neither a guarantee nor an implied warranty is provided regarding the content available on the website.