Troubleshoot mywifiext

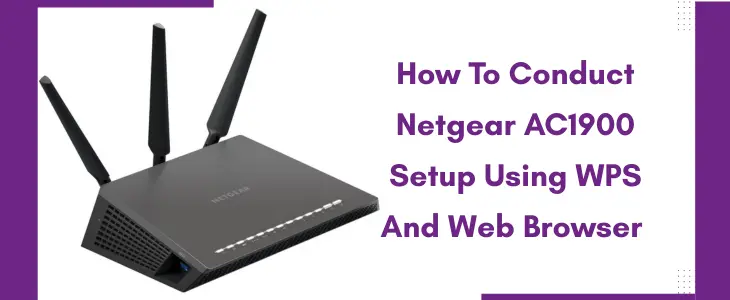
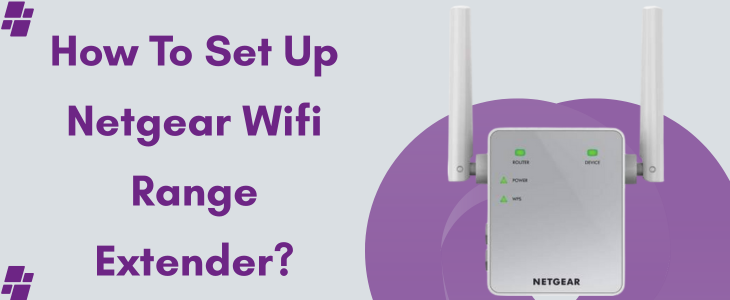
Multiple Solutions To Troubleshoot mywifiext.net Login Issue

The mywifiext.net is a default address through which users can easily login into their Netgear wifi signal booster. Login is crucial for various purposes like for initial setup, for troubleshooting different problems pertaining to the extender, for customizing different settings and much more. Now usually most users report the problem regarding the working of mywifiext.net address. There can be multiple reasons as to why the web address is not working. So if you are also facing a similar issue, then check out this whole troubleshooting blog post. By the end of it, we assure you your problem will definitely be solved. 

Use The Alternatives

First up, when mywifiext.net login address doesn’t work, you can use the alternative login credentials. These are:

Note: Remember these web addresses won’t work if there is even a slight typing mistake like using upper letter case or giving unnecessary space in between. So you need to ensure complete accuracy. Moving further, the device that you are using for accessing mywifiext.net should have access to the internet. Additionally, it should have its connection to the extender’s wifi network or via ethernet wire. If you are not connected then for wireless connection you can fetch the accurate details from your extender’s bottom or back panel. Thereafter using the same credentials get your device connected to the signal booster. For wired connection you just need to link one side of the ethernet to the client device and the second side to the Netgear signal booster.

✓ Clear Up Browser Problems

Yet another reason why mywifiext.net is not working could be because of choosing an incompatible browser. So to eradicate the same, consider choosing between Google Chrome, firefox, safari, edge or internet explorer. Additionally, clear up browser’s caches and cookies. Moreover ensure the running of the browser on its latest firmware version.

How To Conduct Netgear AC1900 Setup Using WPS And Web Browser

How To Conduct Netgear AC1900 Setup Using WPS And Web Browser

Netgear offers a vast variety of wifi range extenders. No matter which particular model you choose, it will effectively eradicate all dead zones and thus will provide you with seamless connectivity. But to fetch this performance, conducting an errorless setup process is mandatory. So in this blog-post we’ll be sharing the complete details about the Netgear ac1900 setup. You’ll get access to two different setup methods. One is done using the WPS button. Whereas the other one offers a more traditional approach and is done using an internet browser. So let’s check out the guidance for both the methods.

Netgear AC1900 Setup: Using WPS Button 

For the setup first you need a router that has its connectivity to the internet source. Next up, write down the credentials of your network whose reach you are looking forward to extending using AC1900. Now you are all set for the Netgear AC1900 setup steps.

✓ First, plot the AC1900 in the same area and probably close to the router. 

✓ Next up, ensure the mode switch button of the device is turned towards Extender. 

✓ As the AC1900 device comes with a direct plug-in device so you do not need any power cord for its activation. So directly plug the AC1900 wifi repeater into the wall-socket. Turn on. 

✓ To avoid issues with the further Netgear AC1900 setup steps, do not move to the next step until the light on the extender turns green. 

✓ Now press the WPS button of AC1900. When the WPS light starts blinking, press the same button (WPS) on the router. 

✓ Finally, you need to wait for the synchronization process to complete.

✓ As it completes, all the LEDs on the AC1900 should be green. It indicates a successful setup. 

✓ Finally, you can reposition the AC1900 to a location where you want to erase dead zones and other connection problems. 

Netgear AC1900 Setup: Using Web Browser 

The web browser based setup method is more convenient for users who are tech-friendly and want to configure the AC1900 extender deeply. The steps for the same are:

✓ Plot the AC1900 halfway from the router and the area of concern. Remember the placement spot should be able to receive not less than 50 percent signals from the router. Because communication between the router and AC1900 is important for successful Netgear AC1900 setup

✓ Moving further, turn on the device. Allow it to start up properly. Once it activates, take your laptop. Enable its wifi. From the list pick Netgear_EXT. Tap on Connect. As an alternative to this connection method, you can link the device using ethernet wire. 

✓ Now, on the networked device, open the internet browser. Head to the address field. In it type www.mywifiext.net. Press Enter. 

✓ Finally, to wrap up the Netgear AC1900 setup, all you need to do is go through the on-screen prompts one after the other. Do not skip any step and before log out remember to save all the settings. 

Netgear Wifi Range Extender?

How To Set Up Netgear Wifi Range Extender?

There is a notion about setting up networking devices. The notion is that it requires assistance from experts. But the fact is, you just require the right guidance and thus you can easily complete the installation on your own. So if you got your hands on the wifi signal booster from Netgear then in this blog-post we’ll be sharing the complete guidance about mywifiext.net setup. So you can easily eliminate all the connectivity issues effectively with your Netgear device. The setup steps are straightforward so it won’t take more than ten minutes for the entire setup. 

Position The Extender Strategically 

The first step for mywifiext.net setup is thoughtful plotting of the signal booster. Placement plays a crucial role in the performance of your range extender. So plot it in the middle of the router and the area of concern. Additionally, to let the signals travel without any interruptions, keep the signal booster far from electrical, metal and other physical barriers like furniture and thick walls be it of glass or concrete. Try plotting the signal booster on some high elevations. Like you can place it on the shelves or on the table top. Also choose the area that offers proper ventilation. Now you are all set for the configuration.

mywifiext.net Setup Steps

  • Firstly, fetch the power cord of the extender. Link it to the power port. Thereafter move it into a well-working switchboard. Turn it on. If the signal repeater doesn’t start up, then push the on/off switch on the Netgear extender. Thereafter hold on till you see the power LED turning stable and all lit up. 
  • In this step of mywifiext.net setup you require a well updated smart device like a laptop. Activate its wifi. Choose SSID “Netgear Extender Setup-XXX”. Tap on Connect. Users who wish to have a more stable connection can use the ethernet wire. 
  • Moving forward, on the networked device open internet explorer. You can use any other browser as well. Like Google chrome, firefox, safari and edge. Just ensure the chosen browser doesn’t have pending updates and for errorless mywifiext.net setup clean off browser caches and cookies. 
  • In the URL bar enter mywifiext.net. Click enter. If by any chance you are not taken to the login window then use an IP address instead. It is 192.168.1.250. 
  • Finally, you need to fill up the defaults. Usually it is:
    • Username: admin
    • Password: password
  • As you tap on Login, the interface begins searching for the router’s network. As you see it, select it and thereafter fill up the accurate security password. Once the network is extended, wrap up the mywifiext.net setup by personalizing various settings. 
  • Do not leave the setup page without checking for pending firmware updates. Because then the setup outcome won’t be favourable. You might face various issues. Updates rectify the problems and also enhance the security. Therefore installation of updates is crucial for a seamless networking experience.


Disclaimer:- mywifiextlogsetup.com website is for customers who are seeking technical help and technological assistance/support service for WiFi extenders, routers, and WiFi networks. However, we do not have any endorsement, alliance, or affiliation with any brands neither direct nor indirect. All the images, brand names, product models, and logos are only for illustrative purposes. Guidelines provided on the website are solely for informational purposes. Neither a guarantee nor an implied warranty is provided regarding the content available on the website.