
Netgear EX7700 Setup
Are you tired of super slow internet speeds in your rooms? Your wifi doesn’t allow you to stream high definition videos without lags and bufferings? Does it always give up on you during important tasks? If yes then its high time to invest your money in a good quality wifi range extender. When we talk about quality and reliability nothing comes close to Netgear. So today let’s explore one of its best sellers that is Netgear EX7700 Setup.
Tri-band Technology
Firstly, the Netgear EX7700 comes with tri-bands. This means it consists of one 2.4GHz band and two 5GHz bands. These three frequency bands together provide you high speed internet and wide coverage.
Two Ethernet Ports For Wired Connections
The Netgear EX7700 features two ethernet ports. You can easily locate these ports on the back panel of the extender. So whenever you need a direct and stable connection for any wired device then you can simply use ethernet ports.
Nighthawk App For Easy Network Management
Further, you can easily manage the network by downloading the Nighthawk app on your device. You can see the number of connected devices, run a speed test and can also easily monitor the network.
Smart LED Indicators
The Netgear EX7700 Setup becomes extremely easy because of this particular feature. The extender consists of 5 LED indicators. All these together help in knowing the exact status of the network. For eg: If you want to know whether the connection between the extender and the router is good or not then you can check the router link LED’s color on the extender. If it is depicting a solid amber color it means the connection is good but if it shows a red light it means a poor connection.
Netgear EX7700 Setup: Quick And Easy Step-By-Step Guide
Setting up Netgear EX7700 wifi range extender is extremely easy. We will guide you through the quickest method which is WPS based. So without further ado let’s begin:
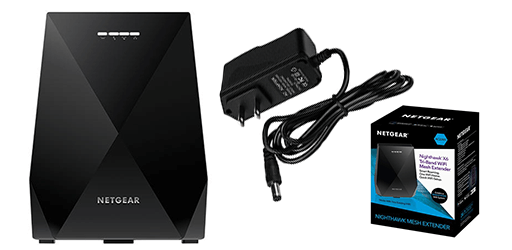
What’s In The Box?
You will get in total three items inside the box. That are:
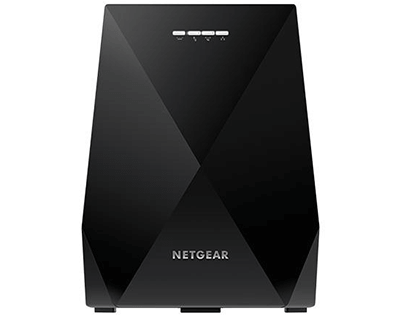
- First, your Netgear EX7700 Wifi range extender.
- Secondly, a power adapter.
- And lastly, the user manual.
Gather all these components and start the process.
Placement
Firstly, place the EX7700 wifi range extender at the same location as your router. Now take the provided power adaptor. Connect it to the DC power connector which is present at the back of the extender and then plug it in the switch board.
Note: Proper placement of the extender is very important. So always check the surroundings of the extender. Make sure there are no electrical and metal objects near to it. Also, there shouldn’t be any other physical barrier like thick walls in between the router and the extender.
Power On
Secondly, power on the extender. Wait for the power LED light to turn solid green. Do not move ahead if the LED is depicting a solid amber or any other color. A solid amber light means the extender is still booting whereas a blinking amber light means the extender is resetting to its factory default settings. So only when the power LED depicts a solid green color only then you can move ahead to the next step.
Press The WPS Button
Further, just click the WPS button first on the EX7700 extender and within the next 2 minutes press the WPS button on the host router. You will see a blinking white light on the WPS LED on the extender. It means the connection is being established. Wait until the WPS LED on the router turns solid white as it means the connection is successful.
Move The Extender To A New Location
Once the setup is all done now you can move the extender to a new location so that it can easily provide wider coverage. Place the extender in the center of your home that is halfway from the router and the dead zone. Again plug in the extender with the power adaptor and power it on. Make use of smart LED indicators to check if the placement is proper or not. Check the router link LED to know the connection status.
Test The Connection
Lastly, it’s time to test if the setup is working properly or not. Connect your devices to the new network and start streaming your favorite shows. Check the connection in an area that previously gave you connectivity issues. Now check the client link LED on the extender. It will tell you whether the connectivity is proper or not.
- Solid white light means the best connection.
- Secondly a solid amber light means good connection.
- Next, a solid red light depicts poor connection.
- And, lastly if it is off then there is no connection.
Connect To Us For Support!
In case of any assistance or guidance you can directly call us, write to us through mail or connect to us through live chat. All the contact information is available downwards.