
How To Hook Up A Netgear Wifi Extender?
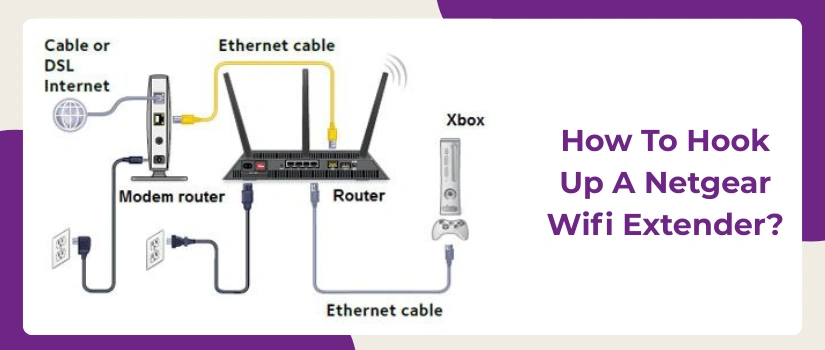
Are you fed up with spotty wifi connectivity? If yes, then you must definitely invest in a Netgear wifi extender. This will significantly improve the networking experience. You’ll get seamless wireless coverage for each task be it gaming, streaming, browsing and that too in every nook of the place be it your bedroom or balcony. Learning how to hook up a Netgear wifi extender is quite simple. You get two options for it. You can use the easy WPS button method. Or, you can choose a quick web browser setup using mywifiext.net. This guide will walk you through both methods. So you can conduct one that is easier for you. Let’s get started.
Step-By-Step WPS Guide
Firstly, make sure your router supports the WPS button. In case it doesn’t then you need not panic, all you have to do is use the second web GUI based setup method.
Now let us list down the steps for the Wifi protected setup method.
- First, bring the Netgear extender into the same area as your router. The more the proximity between the router and the extender, the better will be the outcome. Now activate the extender by plugging it into a well working electrical socket.
- Let the extender’s power LED turn solid green. Because only then you’ll be able to conduct the next steps.
- Now locate the WPS key on your router. As you locate it, push it. The WPS indicator will start flashing continuously.
- Now within 120 seconds, locate as well as press the WPS key on the Netgear extender. Finally, the syncing will begin. It will take a couple of seconds to complete. Once it completes, you’ll see WPS lights turning stable and green.
- At last, you just have to relocate the Netgear extender to a more appropriate location. Place it in the area where your router’s signal drops to 50 percent. For zero connectivity problems, keep the extender on an elevated surface and away from metal and electronic items.
- Finally, as you finalize the placement, repower the device and once it activates properly pair your device and test the connectivity.
Step-By-Step Web GUI Method
This setup method gives you more control over your extender’s settings and thus it is widely used. The steps for it are as follows:
- Start by placing the range extender in the middle of the router and the area where you require extended signals.
- Now power on the extender. Wait for its booting process to complete.
- Thereafter, pick your laptop or any other smart device from your collection.
- Go to your device’s settings. Head to the wifi section and enable it. As you do so, the list of all available networks will open up. Pair to the network “Netgear_EXT”.
- The above written step also has an alternative. So if you wish to have better stability during the remaining setup process, then you can skip the wireless connection method and instead pair the smart device to the extender via ethernet wire.
- Now open up the internet browser on the networked device. The browser must be up-to-date, free from caches and cookies and most importantly it must be compatible. The options for the same are Google chrome, firefox, safari, internet explorer and edge.
- As you open the browser, go to its address field. Here, type mywifiext.net and hit enter.
- Click on NEW EXTENDER SETUP. The setup wizard will now scan for local Wi-Fi networks. Choose your main router’s Wi-Fi network name (SSID) that you want to extend and then fill in its password.
- Finally, hit on Connect and then personalize the network details as per your wish.
Still have questions regarding how to hook up a Netgear wifi extender? If yes, no issues just reach out to our customer support team.