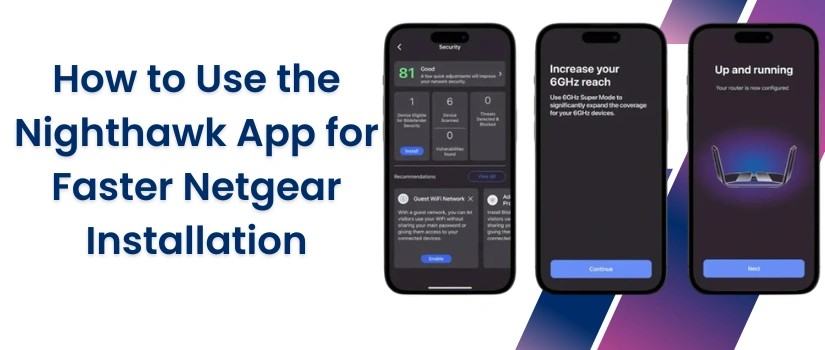
How To Block Dead Zones With Netgear EX7000 Setup?
Users who need uninterrupted, super fast and dependable wifi connectivity at every step of their way into their home/office area should definitely consider investing in Netgear EX7000 wifi range extender. It operates on dual frequency bands, provides high speeds of up to 1.9Gbps, can easily block out all dead zones and also comes with ample other great features. But to unlock its full potential you need to learn about the Netgear EX7000 setup process. So if you already bought one for yourself or are on your way to buy it, then this blog-post will definitely lend you a helping hand for conducting an errorless setup of the device.
Start With Collecting Setup Basics
First up for Netgear EX7000 setup, unpack the package contents. Inside you’ll get:
- EX7000 mesh wifi extender.
- A power adapter
- Three antennas
- A stand for the extender and a quick installation manual.
Apart from the package items, you require these things for the setup:
- A router and its basic details (SSID and passkey).
- Access to the power board.
- Next up, a smart gadget like a computer system, laptop, iPad or you can also use your smartphone.
And thus, with all these components you’ll be able to conduct errorless Netgear EX7000 setup.
Setup Steps
The setup is easy, straightforward and won’t take more than 10 minutes to complete.
✓ Start by keeping the EX7000 mesh extender into an area which is at an equal distance from the router and the area where you come across wifi problems. Additionally, attach all the three antennas.
✓ Now with the help of a given power cable, turn on the EX7000 device. Give it a few moments to boot up.
✓ Moving further, take up your smart device and build its connection to the EX7000. There are two alternatives available for it. For wireless connection use the details that are written on the EX7000’s bottom panel. Whereas for wired connectivity, just make use of a well-working Ethernet wire.
✓ Finally, for the further Netgear EX7000 setup, you need to login. So for this open Google chrome or any other up-to-date browser. Take a turn towards the URL column. Type in with complete accuracy: www.mywifiext.net. Press Enter.
✓ Lastly, adhere to the prompts that appear after login on the interface and finish the setup. You’ll be prompted to select the router’s ID and then give in its passkey. So ensure you provide this information accurately. After Netgear EX7000 setup finishes, all smart lights on the front panel should be glowing green. As it indicates the best connection.
Note:
Before you close down the setup interface, do not forget to check out for the pending updates. If available, then do not waste a single minute and start the installation then and there. Additionally, enable the auto-update option because next time whenever the manufacturers will come up with the update, you need not install it manually. Remember pending updates holds the potential to affect the proper working of Netgear EX7000 setup. Thus keeping its firmware up-to-date is crucial.