
Netgear EX5000 Setup
Setting up networking devices can be a difficult task for many. But when you have us by your side this difficult task becomes a fun task. So today we are here to guide you through the complete Netgear EX5000 Setup.
Feature Set
Before we proceed with the setup process lets first have a look at some of its great features.
Dual Band Technology
The extender uses two frequency bands to provide you with the best internet experience. The 2.4 GHz band can easily penetrate through thick walls thus it is ideal for long distance devices. Whereas the 5GHz band provides users with high internet speeds. The combination of both the bands together reduces interference and congestion. Further they together provide you the speed of 1200 mbps.
Internal Antennas
The Netgear EX5000 comes with internal antennas which means you can easily enjoy high speed internet. Moreover these internal antennas provide you wide coverage. It means with its successful installation you will no longer face the issue of dead zones or poor connectivity.
Compatibility
The Netgear EX5000 is compatible with all the standard routers. This means you do not need to upgrade or change your existing wifi router. Further, its compact design doesn’t take up space in your home. You can simply plug it in the wall socket and that’s the only space it takes.
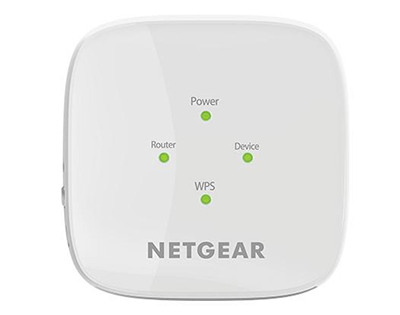
Smart LED Indicators
Lastly, it comes with four different smart LED indicators. These indicators give you clear indications about the connectivity. The router LED depicts the connection between your router and the extender. The green light indicates the best connection whereas the red light means the connection is poor. On the other hand the device LED indicator tells about the connection between your devices and the extender. For perfect setup this feature comes in really handy.
Installation Guide
Now, let’s jump on to the Netgear EX5000 Setup process. So we will share two methods one is WPS based and another web browser based. You can choose the one as per your convenience.
Method 1: Using WPS Button
This method is for those users who have routers with WPS abilities. Further, it’s a very simple and quick process that can be done within minutes.
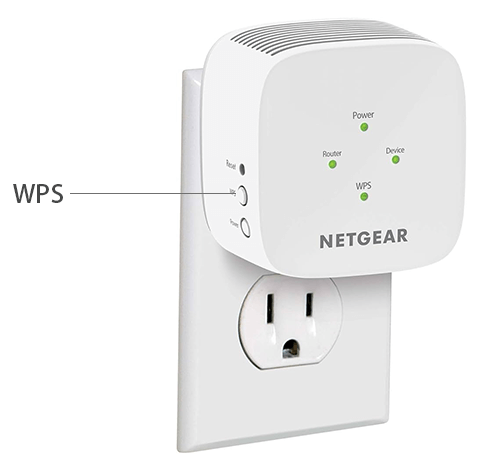
- Firstly, plug in the range extender near your router. Switch it on. Wait until the power LED light on the extender turns solid green.
- Secondly, press the WPS button on the EX5000 extender. Keep pressing it until the WPS LED light starts blinking.
- Now within the next 2 minutes press the WPS button on your host router. The extender and the router will start syncing together.
- Finally, check the router LED light. If it shows the solid green color then it means there is the best connection. If it showcases a solid amber light then it means the connection is good. Lastly, if the light is solid red then it means poor connection. To solve this move the extender closer to the router. Also, check if there are any electronic or metal objects near the extender. If found, clear the area immediately.
- Lastly, unplug the range extender and now plug it in the area that is halfway from the router and the area where you need the extended coverage.
Method 2: Using Web Browser
So, in case you do not have the router with a WPS button then you can pursue this method. This method is also super easy and quick. So without further ado let’s start:
- Firstly, Plug in the range extender near to the router. Power it on. Wait for a few seconds to let it power on properly. The solid green light will depict its proper working.
- Secondly, take any device. It can be your smartphone, laptop, ipad or any device with wifi capabilities. Go to the wifi settings, look for the network name that has “EXT” at the end. Click on it to connect.
- Further, on the same device open a web browser. Before proceeding further make sure you clear all the browser caches and cookies. Once done go to the browser’s address bar. Type www.mywifiext.net and press Enter.
- Finally, the extender’s login page will appear. Enter the default login details which you can easily find in the user manual. Once logged in just follow the on-screen prompts to complete the Netgear EX5000 Setup.
- Lastly, unplug the extender and now plug it in a new location. The location should be halfway from the router and the area where you need the extended coverage. Plug in the extender and check the router LED to know whether the placement is perfect or not. If the LED depicts a red or amber color then move the extender closer to the router.
Contact For Help!
In case of any other query or help you can contact us directly. You can connect to us through phone call, email or live chat. You can easily find the contact details downwards. Our experts are available 24/7. So feel free to connect anytime for every technical help.