
Understanding The Netgear AC750 Setup
Are you tired of using those traditional routers that don’t provide you with complete coverage and consistent internet speeds? If yes, then it’s high time to buy yourself one Wifi range extender as they can easily amplify and extend the reach of your current network. They are not just ideal for residential purposes but can also be used at commercial sites. One such brand that tops the list for making the best Wi-Fi range extenders is none other than Netgear. So today we will explore the Netgear AC750 Setup. We will cover its features and setup process. So without further ado let’s begin.
Key Features Of Netgear AC750 Setup
Here’s what makes Netgear AC750 a reliable WiFi extender:
- It comes with dual frequency bands. One 2.4 GHz band and another 5 GHz band. Both bands provide you with the combined speeds of up to 750mbps.
- The Netgear AC750 is capable of extending the coverage and kicking out all the dead zones from your abode.
- For wired and stable connection you get a 10/100 Mbps Ethernet port. Therefore, you can directly connect your gaming consoles, smart TVs and much more to it.
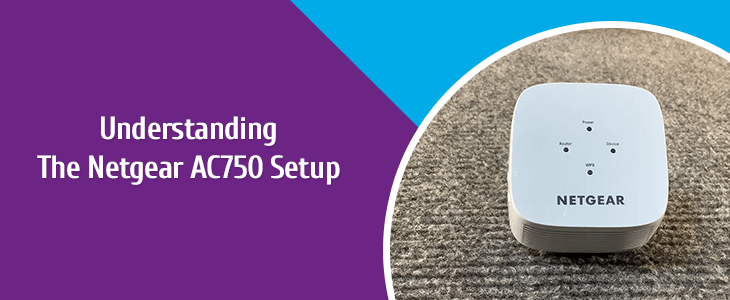
- Its smart LED indicators show the signal strength to help you find the perfect spot for the placement of the extender thus saving you time.
- Its WPS support allows for a quick and secure setup with a compatible router. It just requires pressing the WPS button on the router and then within a minute on the extender.
Netgear AC750 Setup Guide
By following the below-mentioned steps and utilizing its features, you should be able to effectively extend your Wi-Fi network coverage with the Netgear AC750. So let’s begin:
Positioning
Placement of the range extender is extremely important if you want complete coverage. So place the extender in a position that is halfway between the router and the place where you need the extended coverage.
Power On
Now, plug in the extender into a power outlet and power it on. Make sure that the power supply is Uninterrupted and constant throughout. Wait for the LED light on the extender to stabilize before proceeding further.
Connect To The Extender
Take up any device of yours and go to Wi-Fi settings. In the list of available networks search for the network named “Netgear_XXX” or something similar to it. Once found, click on “Connect”.
Open A Web Browser To Access The Setup Page
Now on the same connected device, launch a web browser like Google Chrome, Edge, Mozilla Firefox or Safari. In the address bar of the browser enter “www.mywifiext.net” and press the “Enter” key.
Log In
Once you reach the setup page, you will be prompted to enter the Username and Password. In the username column enter “admin” and in the password column enter “password”. Click on “Log In”.
Setup
As soon as you click on “Log In”, the setup page will give instructions to you. Just keep following the instructions carefully and do not skip any step. It will help you connect the extender to your existing Wi-Fi network. You’ll select your network and enter your Wi-Fi password.
Reconnect
After setup, reconnect all your devices to the newly extended network. The extender’s default extended network name will include your original network’s name with a suffix like “_EXT.” And that’s all, your Netgear AC750 setup is all done and dusted.