
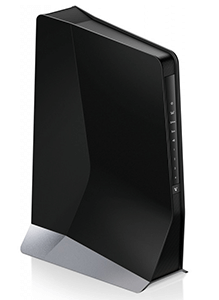
Netgear EAX80 Setup
Let’s Talk
Call us to discuss your Netgear Extender issues with our experts and get the solution.
Are you looking for a complete guide on Netgear EAX80 Setup? If yes, then you have arrived at the perfect destination. In today’s guide we’ll not just share the setup process but will also explore its features. So without further ado let’s begin.
Netgear EAX80 Comes With The Latest Wifi 6 Standards
Netgear has taken the networking game to a next level by introducing wifi 6 in its EAX800 wifi range extender. With the latest wifi 6 standards you can now easily connect more devices. Additionally you can enjoy much better speed and connectivity throughout your home. So with this device it’s time to say hello to lag free experience, blazing fast downloading and uploading speeds and much more.
Higher Speed And Wide Coverage
Secondly, the Netgear EAX80 wifi range extender offers you the speed of 6Gbps. So with this magical device you can easily multi-task on various devices. Further with its successful installation you will no longer face any connectivity issues as it provides a wider range. So even if you decide to work from your balcony, terrace or your basement you can easily do so because the Netgear EAX80 can reach every single corner of your home.
Compatibility With Your Existing Router
Further, the Netgear EAX80 is compatible with almost all the standard routers and gateways. So before purchasing this beast you do not need to upgrade your existing wifi system. Just set up the EAX80 wifi range extender and it will automatically upgrade the working of your existing network.
Four Ethernet Ports For Wired Connections And One USB Port
Additionally, the Netgear EAX80 wifi range extender offers you not one, not two but in total 4 ethernet ports. Isn’t that amazing? So with the help of ethernet ports you can easily connect your LAN devices directly to the extender. This feature is extremely beneficial. For eg: You have an important meeting to attend, and you want a trustworthy and strong internet connection for your device. All you need to do is connect it to the ethernet port. You will automatically get a more stable and fast internet speed. Further, you can also connect your USB storage devices to the extender with the help of a USB port.
Smart LED Indicators
One of the greatest and most important features of Netgear EAX80 Setup is that it comes with multiple smart LED indicators. Each LED depicts a different behavior of the extender. For eg: A solid white light on the power LED means the extender is powered on. Whereas the blinking white light on the power LED means the extender is booting or the extender is resetting itself to the factory default settings. So overall each LED light depicts something. This feature helps in using the extender optimally.
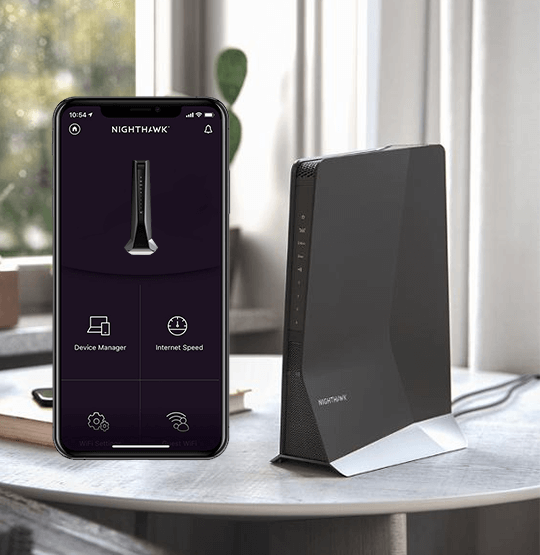
Extremely Quick And Easy Setup Through Nighthawk App
Now, finally let’s move on to the Netgear EAX80 Setup process. People usually think that setting up technical devices requires expertise and experience in the technical field. But the fact is with the right and straightforward instructions anybody can set up the networking device independently. So here’s is the complete guide for you:
- Firstly, place the range extender extremely near to the router. This proximity is required only during the initial setup.
- Secondly, plug in the extender directly into the wall socket. Switch it on.
- Now, wait for the power LED to turn solid white. As it will be a clear indication to move forward to the next step. In case it doesn’t power on then press the power button on the extender.
- Further, grab your smartphone. Download and install the Nighthawk app on it. The app is available on the Play Store as well as the App store.
- Next, on the same device open the wifi settings and connect to the extender’s network. You have to connect to the network named Netgear_EXT.
- Now open the Nighthawk app and simply start following all the on-screen prompts one by one. Finally, the setup process will be all done. Check the router link LED to know if the connection between the router and the extender is successful or not. The router link LED will have a solid white light on it if the connection is best. If not, then either it will be off or red.
Reposition And Test The Connection
Lastly, once the setup is all done just unplug the extender and place it in a new location. This new location is in the center of the home. Further halfway from the router and the area where you need extended coverage. Again plug in the extender and power it on. Then just wait for the power LED to turn solid white. Finally test the connection by connecting your devices to the newly extended network.
Feel Free To Connect To Us For Any Technical Help!
We offer 24/7 support so you can contact us anytime. For direct one to one conversation you can call us. You can also write your queries through mail. Lastly, we also offer a live chat option for instant help. You can find all the contact details downwards.