
How Netgear EX5000 Setup Can Be Done Using WPS Button?
Want to extend wireless coverage of your existing router? If yes then Netgear’s EX5000 wifi signal repeater can help you out. The extender will collaborate with the router first. Thereafter it will borrow its signals, will multiply them in huge numbers, strengthen them and then it will send them off to different locations of your abode. Thus you will no longer face problems like slow wifi speeds, sudden connection drop or that of intermittent internet connection. For effective working, you need to conduct the Netgear EX5000 setup process errorlessly. The setup process is quite easy and can be done quickly using the WPS button. To know the complete details, keep on reading.
Netgear EX5000: Key Features
First of all the Netgear EX5000 wifi range extender comes in a compact size and direct wall plug design. It features dual frequency bands. The amalgamation of both bands offers high speeds of up to 1200Mbps. You do not need any specific router to make it work, because it is compatible with all standard routers. Further the Netgear EX5000 setup features high power amplifiers and internal antennas that offer dependable and wider connectivity. Thereafter the FastLane technology allows you to combine both bands and create one high speed network.
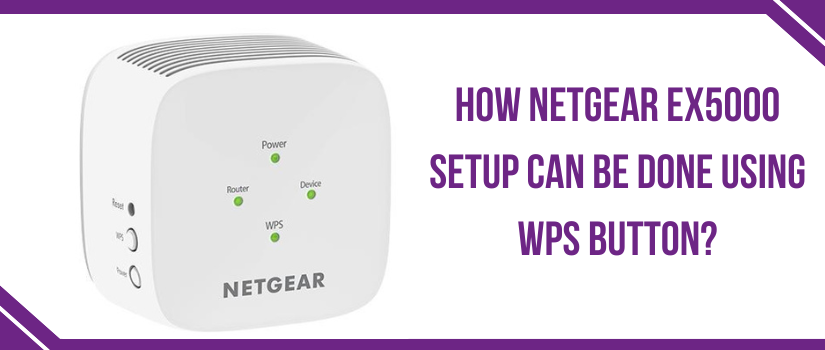
Moving ahead, the extender features smart lights on its front panel. These lights not only help you with understanding the exact working of the extender but also helps with finding the right placement spot.
Now let’s get to the installation steps.
Netgear EX5000 Setup
At first you need to plot the EX5000 wifi range extender very close to the host router. Once the setup is done, you can move it to a desired place. Now follow these setup steps one by one:
- Plug in the extender into a power outlet that offers consistent electricity. Power it on. In case the extender doesn’t start up automatically, then press the power button from the extender’s side panel.
- Now give the signal repeater a little time to finish the booting process. As the process completes, the power LED will turn stable green.
- Thereafter, locate the WPS key on your router. Upon finding it, press it. Let the WPS LED of the router blink. If it doesn’t, then press the WPS button once again.
- Now, from the EX5000’s side panel, press the WPS button. Make sure the time gap between performance of step no. 4 and 5 are not above 120 seconds. With this the WPS LED will also start blinking.
- Finally, you just need to wait for both the LED’s to turn stable. On the extender it will turn solid green. This means the Netgear EX5000 setup is done successfully.
- Lastly, detach the extender and plug it back in, in the area which you consider the center of the router and wifi dead spot. As you will power on the device, all the four smart indicators must show green light. If the router LED is red then it means the placement isn’t up-to-mark. So drag the repeater closer to the router.
If you come across any issue with the setup, feel free to call/chat/write to our experts.