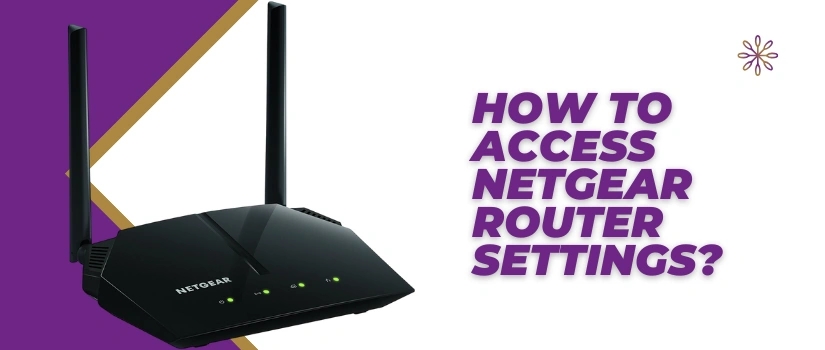
How To Access Netgear Router Settings?
Do you want to know about the process through which you can easily access the Netgear router’s settings? If yes, then you have found the right blog post. In this post we’ll be sharing two different methods through which you can access the main page where all the settings can be modified. One method requires you to use the web browser. Whereas the other one is done using Netgear’s Nighthawk app. No matter which option you choose, both are easy and straightforward. So without deferment, let’s get to the point.
Access Settings Via Web Browser
For accessing Netgear router settings using web browser you have to follow these below written simple steps:
- Ensure your Netgear router is active and its power indicator is all stable.
- Now take a smart device. You can use anything from a laptop to a cellphone. Visit its wifi settings. On the router’s base or back panel you’ll find SSID and the password. So from the wifi networks list connect to the exact same SSID and use the same password.
- But if you want direct wired connectivity and better stability then take an Ethernet wire. Slip its one end into the smart device and the other side into the Netgear router.
- Now open any internet browser on your paired gadget. You can select between internet explorer, chrome, firefox, safari and edge.
- Thereafter, in the URL field of the browser you have to type www.routerlogin.net. As you click on the enter key, the login page promoting you to fill in login credentials will open up.
- Use the customized details, if any. Otherwise you have to use the default details. By default the username is “admin” and the passkey is “password”. Both are case sensitive, so type in correctly.
- Finally, you’ll now have access to the router settings page. You can make the desired changes. But at first we would suggest you to alter the default login details as this is crucial for the safety of the router’s network.
Note:
Sometimes the web address www.routerlogin.net doesn’t work. So in that scenario here are the alternatives that you can use: first is www.routerlogin.com. Then 192.168.1.1 can also serve the purpose. Lastly, you can also type in 192.168.0.1 into the address field.
Use Nighthawk App For Accessing Settings
Now comes the convenient method for accessing Netgear router’s settings. For this method these are the steps that you need to follow:
- Take a smart device. On it install the Nighthawk app from Play/App store. You can also download it from the nighthawk-app.com.
- If you already have an app on your device, then ensure it doesn’t have any pending updates. Because this can create a ruckus.
- Once the app is installed, open it on your device. Make sure the device has its link to the wireless network of the router. If not, then go to settings. Toggle wifi. Use the SSID and the password written on the router’s product label and get connected.
- After launching the app, new users need to create a Netgear account, whereas the existing ones can simply fill in the login details and get access to the settings page.
- Finally, you can now alter the default settings easily.
Note:
Sometimes the default network of the Netgear router doesn’t show up in the list of available networks. So in that case you can either type in the details manually or just reboot the router as well as your smart device.
For any other query or for troubleshooting assistance you can call, chat or write to our experts.

