
Netgear EX6120 Setup
Getting hurdles while installing or using the Netgear EX6120 Extender? Don’t worry and get the solutions from here to get things clear.
Netgear EX6120 setup is such a plug-and-use device with some easy installation processes. Having this device means getting uninterrupted internet signals throughout the home or office. Evidently, it will cover the WiFi dead spot areas by providing the highest internet speed. If you are using it for the first time or getting errors after the configuration, read these details to use the extender properly.
Netgear AC1200 Setup Overview And Features
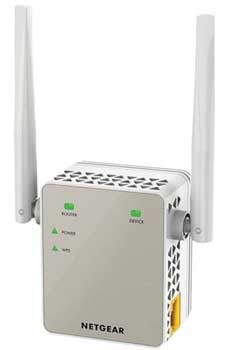
After getting or unboxing the Netgear AC1200 device, you will get a manual guide along with the extender. Talking about its overview, it has two antennas on both sides, the WPS, reset, and power buttons on its panel. Whereas the manual guide contains the setup details and some necessary points. So, go through that guide once to get theoretical knowledge about this device.
On the other hand, coming to its features, it works on dual 2.4GHz and 5GHz bands that provide up to 1200Mbps speed. Interestingly it can be configured through its useful WPS button and it is compatible with any router. More than that, you can easily connect a number of devices with it. But while reading the manual, if you are not able to understand its setup and feature points, then our experts can help you to do that.
WPS Method For Netgear EX6120 Setup
Undeniably, it is the easiest configuration method as it can be done without consuming more time and effort. All you need to do is push the extender and router’s WPS buttons. Follow all these points carefully.
- In the first step, plug the extender into a vacant electrical socket.
- Make sure the extender and the router are placed close.
- After plugging in the extender, check its LED sign as it must be ideal.
- Next, push the extender’s WPS button and wait till the LED turns color.
- Once the extender becomes searchable, use the router’s WPS function.
- Soon, push the router’s WiFi-Protected setup button for a few seconds.
- Wait till the connection between them is successful or the lights turn color.
- Now, use your devices such as mobile, or PC, and join it with the network.
- To do this, open the network list on it and select the right one from there.
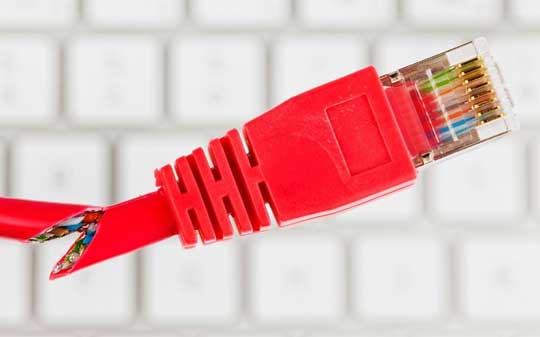
- If the wireless connection fails, then choose to make a wired one.
- Insert the ethernet wire ends into the device and the extender’s ports.
- As a result, your device will notify you once the connection is complete.
Netgear EX6120 Configuration On Web
In any case, if the existing router doesn’t have a WPS button or is not working properly, then opt for the web browser setup method. In this method, you will require to use the extender’s default login details, web address, and other things. So have a look over these and keep these things ready with you to start the procedure.
Prerequisites For Netgear AC1200 Setup
- First, the Netgear AC1200 extender and its login details.
- Moreover, the existing router and access to the internet.
- A WiFi-containing device that can be mobile, PC, or laptop.
- Access to the wireless network and an ethernet wire for connection.
- The proper electrical supply to an unoccupied power outlet.
These are the only things that you will require while setting up the extender. Now, let’s jump to further procedure.
Setup Steps
- After joining the extender to the power socket, connect the device to it. Open the wireless network list on your device and select the network.
- Besides that, make a wired connection if you want to get strong signals.
- Following this, open the web browser on that connected device. Search the extender’s default web or IP address to visit the setup page.
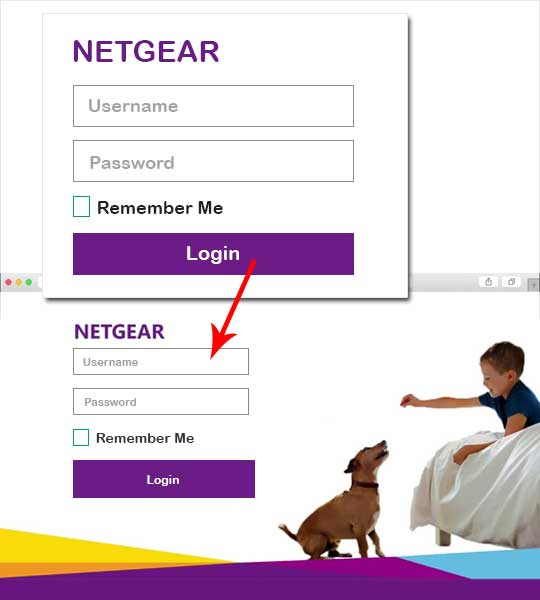
- Here, the extender’s default web address is http://www.mywifiext.net. As you insert the extender’s web address, the login page will appear.
- Fill in the extender’s default username and password in the required field. After that, click the Sign-In option to complete the login process.
- Then, do some basic things after using the on-screen instructions.
- Now, extend the network range by choosing the network from the list. Lastly, the message “Extender Is Installed” will display on the screen.
Fastlane Setup Of Netgear EX6120 Extender
Apart from those two methods, the Fastlane setup is another approach to configuring the extender. Through this method, you can get better WiFi performance along with the highest internet speed than ever. To perform this process, utilize these setup points.
- Initially, plug in the extender and connect it to the client’s device.
- After this, open any search engine on your client’s device.
- Search the Netgear PR2000 setup web address in the search bar.
- The web browser will redirect you to the login page.
- After logging into the web page, select the Fastlane Setup option.
- Then, you will see the dual-band option on the device display.
- The first one is Extender to Router with a 5GHz band and the Device to Extender with a 2.4GHz band.
- Whereas, in the second case, these bands are Device to Extender with a 5GHz band and the Extender to Router with a 2.4GHz band.
- So, choose the option that you want and tap the Save option.
- Thus, the extender’s Fastlane configuration process will finish shortly.
After configuring the Netgear AC1200 extender through the Fastlane method, it will start to work more effectively. In case it does not perform as it should, then get in touch with our technicians to get errors fixed.
Some Useful Points For Setup
Want to execute the process hassle-free? Then, make use of these consideration points while setting up the extender.
- The distance between the extender, router, and device must be minimal.
- The ideal placement of the extender is halfway out of the house.
- So, place the extender at the center of the house to get better coverage.
- Your extender must not be in the range of electrical appliances.
- There should be strong connections whether they are wired or wireless.
- Prefer to make a strong and unique SSID and password for the extender.
- Further, relocate the extender after configuring it at your desired place.
- But it must be within the range of the router and the connected device.
- Take the extender’s login details and web or IP address from the manual.
- If you are not able to get that, our experts can help you to find that.
Netgear AC1200 Errors And Resolving Tips
Although you can configure the extender yourself by using these easy setup steps, you may find the extender’s working faulty. There can be any source of the error behind its malfunctioning. Go through these common setup issues.
- There can be any error from the router’s working or technical end.
- The extender and the router are connected but with No Internet.
- More than that, both devices’ LEDs are not becoming stable.
- Furthermore, your device is not getting connected to the network.
- The extender and router’s WPS buttons are not working well.
- Or the ethernet wires are broken and the connection is lost.
- In addition, the extender’s default web address is not able to open.
- Your device keeps disconnecting from the network frequently.
- The Netgear AC1200 network is not appearing in the network list.
- Last but not least, the extender’s mismatched MAC address.
Troubleshooting Steps
To remove the malfunctioning errors of the Netgear EX6120 setup, unplug the extender first. Also, remove the router and disconnect the devices from the network. Later, plug them in again and connect the device and check their working. Then, use these additional resolving points.
Update Firmware Version
If the extender still provides slow internet speed after unplugging it, then update its firmware file.
- First, check the extender’s firmware file on which it is running now.
- Also, verify the latest version updates on the web-based setup page.
- In order to do this, choose the firmware file according to the model.
- If there is any available, then download it and save it on the PC.
- Keep in mind to disconnect all the other devices except that PC.
- Keep moving on, that is go to the firmware update option on that page.
- Afterward, choose and upload that file to the upload option.
- Once the uploading is complete, start the firmware update process.
- Allow and let the PC to perform the process after giving it permission.
- Wait for some minutes and don’t do another task on the PC while doing this.
- Thus, the updating process will be complete soon and notify you through a message.
- In the end, the extender will require a reboot to apply the latest changes.
- Thereafter, power cycles the extender and do testing with its working.
In case you are not able to find or download the firmware file of the extender model, then take help from our professionals. They will guide you through everything from finding the file to updating the latest version.
Reset The Netgear AC1200 Extender
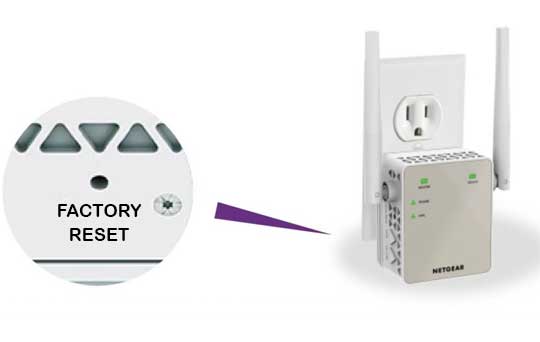
The other foolproof solution to eliminate the error is to Reset The Extender. However, you will need to configure the device again after resetting it. So, use this approach if there is any serious requirement for it.
- To do this, disconnect all devices from the extender network.
- Following this, find and press the extender’s reset button.
- Verify the extender’s LED as it must be blinking constantly.
- After waiting for some time, the LED will become solid and ideal.
- Now, configure the extender again and connect your device to it.
- Thus, the extender will start working and performing well.
Still Netgear EX6120 Setup Issues Persist?
After utilizing these useful points, if the extender is showing errors in the working, then reach our technical experts. Simply drop your queries at [email protected] or call us at +1 716-992-6371. We will assist you as quickly as we can!
Common Mywifiext Setup issues
- Mywifiext.net Not Working
- Mywifiext.local Not Working
- Unable to Access Netgear Extender Login Page
- Incorrect Username and Password
- WiFi is Connected but No Internet
- www.mywifiext.net Login Issues
- Can’t Find the Extender Default SSID
- Server Error
- Unstable or Blinking LED
- Mywifiext.net Setup Issues
- Can’t access www.mywifiext.net
- www.mywifiext.net Taking too Long to Load