How Do I Setup My Netgear AC750 Wifi Range Extender?
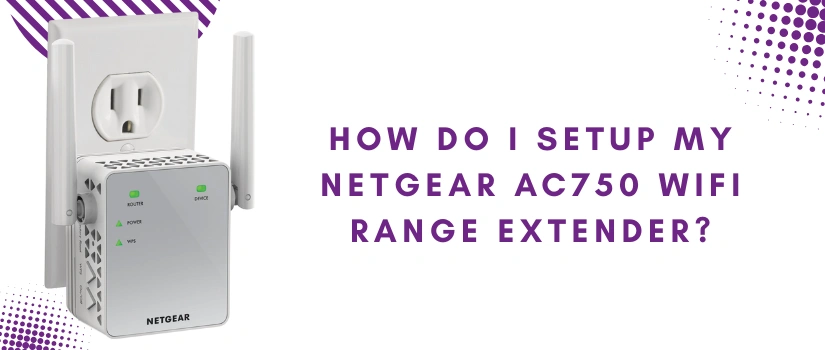
Having a wifi range extender is quite crucial. Because it not only offers wider coverage but also amps up the overall networking experience by strengthening the existing signals. So if you got your hands on the popular Netgear AC750 wifi range extender, then to fetch all its advantages, you need to learn about the installation steps. But first let us highlight its features. So the AC750 range extender comes with a direct wall plug design and thus it is quite compact. It operates on dual-frequency bands and combination of both bands offers fast wifi speeds of up to 750Mbps. Further with FastLane technology you get to create one high speed connection. The extender features in-built antennas and the setup can be done with just the push of a button. Now without delay, let us help you with the installation.
Easy Setup Using WPS Key
First up, unpack the AC750 range extender and familiarize yourself with its hardware. On the front panel you’ll find the smart indicators. These indicators will help with proper positioning of the extender as well as will let you understand about the exact connectivity status. Then on the side panel you’ll find the reset button alongside the WPS button which you’ll be using for the setup. Now we’ll be listing down the setup steps:
- Plug the AC750 extender into a well working power outlet which is closest to the router.
- Now power it on. Let the power indicator turn steady.
- Thereafter, on your host device which is the router, press down the WPS button. Let its WPS indicator blink.
- Now without letting go of a single moment, push the WPS key of the AC750 extender.
- Finally, you just have to wait for the synchronisation to complete. It completes when the WPS lights of both the devices turn solid.
- At last, you just have to unplug the AC750 and plug it in a place which is halfway from the host device and from the area of concern (wifi dead spot).
- After you repower the extender, make sure all the four smart indicators of AC750 are green. If the router link LED is showing a red light then it means the connectivity between the router and the extender is not good. So for rectifying the same, you just need to bring the extender a little near to the router.
How To Access Advance Settings?
Want to alter the default settings of your AC750 range extender? If yes, then for doing so you have to follow these steps:
- Take your smart device like a laptop or cellphone.
- Pair this device to the range extender’s network. The accurate details regarding the same are written on the base of the extender.
- Thereafter, launch a web browser like internet explorer, chrome or any other of your preference.
- Head to its address field. Type http://www.mywifiext.net. Press enter.
- Now fill in the asked details and tap on Login. Now you’ll have access to all the advanced options. You can alter them for the best networking experience.
Placement Strategies
No matter how correctly you conduct the AC750’s setup process, if the placement of the extender is not up-to-mark then you won’t get the desired connectivity. So for strategic placement follow these guidelines:
- Place the extender in an open space. Ideally it must be placed where the signals from the router are not less than 50 percent and in a clear sight of an area where you need extended wireless coverage.
- Avoid keeping the extender in an area where there are too many electrical and metal objects.
- Lastly, do not try to hide the extender behind curtains and never plug it in between two thick walls.
For other queries, reach out to our experts.