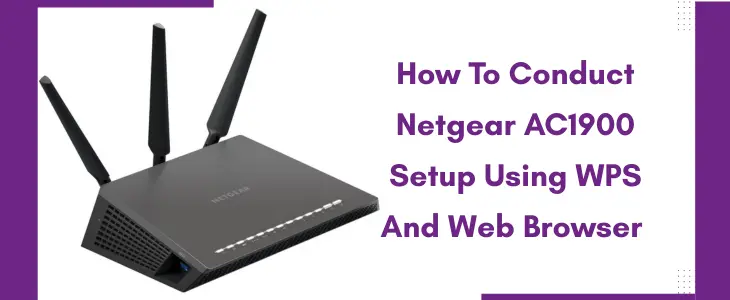
How To Conduct Netgear AC1900 Setup Using WPS And Web Browser
Netgear offers a vast variety of wifi range extenders. No matter which particular model you choose, it will effectively eradicate all dead zones and thus will provide you with seamless connectivity. But to fetch this performance, conducting an errorless setup process is mandatory. So in this blog-post we’ll be sharing the complete details about the Netgear ac1900 setup. You’ll get access to two different setup methods. One is done using the WPS button. Whereas the other one offers a more traditional approach and is done using an internet browser. So let’s check out the guidance for both the methods.
Netgear AC1900 Setup: Using WPS Button
For the setup first you need a router that has its connectivity to the internet source. Next up, write down the credentials of your network whose reach you are looking forward to extending using AC1900. Now you are all set for the Netgear AC1900 setup steps.
✓ First, plot the AC1900 in the same area and probably close to the router.
✓ Next up, ensure the mode switch button of the device is turned towards Extender.
✓ As the AC1900 device comes with a direct plug-in device so you do not need any power cord for its activation. So directly plug the AC1900 wifi repeater into the wall-socket. Turn on.
✓ To avoid issues with the further Netgear AC1900 setup steps, do not move to the next step until the light on the extender turns green.
✓ Now press the WPS button of AC1900. When the WPS light starts blinking, press the same button (WPS) on the router.
✓ Finally, you need to wait for the synchronization process to complete.
✓ As it completes, all the LEDs on the AC1900 should be green. It indicates a successful setup.
✓ Finally, you can reposition the AC1900 to a location where you want to erase dead zones and other connection problems.
Netgear AC1900 Setup: Using Web Browser
The web browser based setup method is more convenient for users who are tech-friendly and want to configure the AC1900 extender deeply. The steps for the same are:
✓ Plot the AC1900 halfway from the router and the area of concern. Remember the placement spot should be able to receive not less than 50 percent signals from the router. Because communication between the router and AC1900 is important for successful Netgear AC1900 setup.
✓ Moving further, turn on the device. Allow it to start up properly. Once it activates, take your laptop. Enable its wifi. From the list pick Netgear_EXT. Tap on Connect. As an alternative to this connection method, you can link the device using ethernet wire.
✓ Now, on the networked device, open the internet browser. Head to the address field. In it type www.mywifiext.net. Press Enter.
✓ Finally, to wrap up the Netgear AC1900 setup, all you need to do is go through the on-screen prompts one after the other. Do not skip any step and before log out remember to save all the settings.