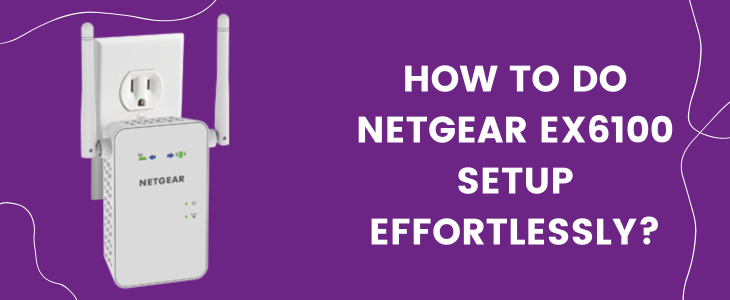
How To Do Netgear EX6100 Setup Effortlessly?
Netgear EX6100 wifi range extender operates on dual frequency bands. It uses FastLane technology for providing you the best high speed connection. To be precise with Netgear EX6100 setup, users can easily grab speeds of up to 750 Mbps. Also the extender doesn’t take up extra space for its placement because it comes in a wall-plug design. The extender features two antennas and an Ethernet port as well. Thus wider coverage and stable connectivity is what you can expect from the EX6100 extender. The best part is that EX6100 can be used in two different ways. So you can set it up in a repeater mode in addition to AP mode. So now as you have an overview of the signal repeater, let’s check out the easy and quick Netgear EX6100 setup method which is done using the WPS key.
Key Requirements For The Setup
For the setup using the WPS method, you don’t require too many components, just a few basic things: First up, a router with WPS functionality. Next, an active internet connection. Lastly, a well-working power outlet through which you’ll start up the device.
Before you proceed with the Netgear EX6100 setup, consider this important pointer. So if you have tried the setup process but couldn’t do it successfully, then first reset the range extender and only then redo the setup process. Because this way the setup results will definitely be in your favor. So for reset follow these below-written points:
- Turn on EX6100.
- Let it start up properly.
- Now just below mode switch point, you’ll find a reset port.
- So you have to take any object like a sturdy toothpick, sim ejector pin or use a straight paper clip.
- Insert the chosen object into this port. Push and hold down till the power indicator goes off or starts to flicker.
- Finally on release the EX6100 resets and now you can start the setup.
Netgear EX6100 Setup
For the setup, first plug the wifi repeater into a well-working socket. This socket should be near the router. So turn on the power button. Also ensure the mode switch button is towards the option extender.
Move ahead, from the side panel of EX6100 click the WPS button. With this, WPS light starts to blink. Thereafter, take a turn towards the router. On it also press the WPS key. Now the connection starts to build. The syncing process completes when WPS indicators stop blinking and turn solid (green).
Finally, you have to now position the EX6100 into a better spot. So find an area where the router’s signals are decent. The chosen spot should be close to the problematic area (dead zone), should offer proper ventilation and must not have too many physical obstacles like walls and heavy furniture set. As you hunt the spot out, replug the extender. Turn on. It will automatically sync back with the router. Ensure none of the smart indicators is showing light other than green color. Because green signifies the best connection. And here the Netgear EX6100 setup process completes.
In case of any query, connect to our experts using any one of our multiple contacting options.