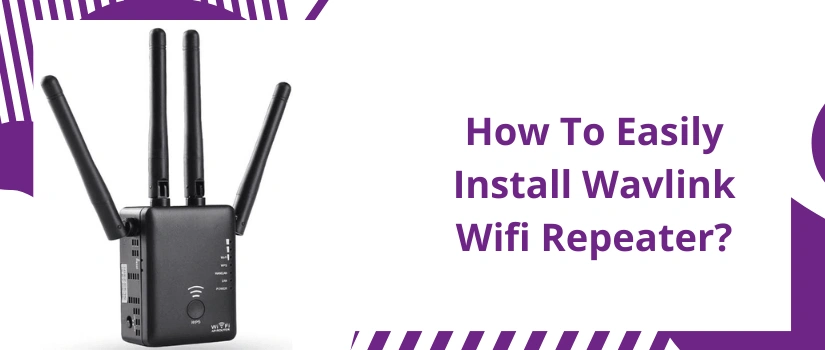
How To Easily Install Wavlink Wifi Repeater?
The need for seamless wifi connectivity can not be justified in words. It is no further a luxury but a basic requirement as everything from entertainment to work requires the internet. Users who wish to enjoy seamless and uninterrupted wifi connectivity in every spot of their abode must invest in a wifi signal repeater. When it comes to signal repeaters, Wavlink is a practical choice. As its extenders are not just affordable and qualitative but are also feature rich. So if you also laid your hands on the Wavlink wifi signal repeater, then you can follow this simple Wavlink wifi repeater setup guide. After successful installation you won’t remember what networking problems felt like and how it impacted your work productivity. So without further intervention, let’s get straight to the crucial information.
Using WPS To Connect
Wifi protected setup method is convenient and does not consume too much of your precious time. The accurate steps for it are:
- Place the Wavlink wifi repeater in the exact same room as your router. Plug it in a standard power outlet. Power it on.
- After its power indicator stops fluttering, press the Wifi protected setup button. As you do the same, WPS indication will begin fluttering.
- Now without taking a single moment, click the router’s wifi protected setup button.
- With this both devices start pairing up. Once they pair up successfully, the WPS indicator stops fluttering and rather turns stable. This indicates successful completion of Wavlink wifi repeater setup process.
Now all you need to do is reposition the Wavlink repeater. Right placement of a networking device is non-negotiable if you require seamless wifi connectivity. So for placement consider these points:
- Plot the repeater at an equal distance from the router and from the area of concern. Make sure the chosen spot is easily able to fetch not less than 50 percent signals from the router.
- Next up, Wavlink wifi repeater setup must be placed in an open space that offers ventilation.
- Avoid keeping any electronic or metal items in close proximity to the repeater. As such objects can affect the signals.
- Ideally, you must plot the repeater on higher elevations. Such as a table top, on shelves or you can mount it on the wall/poll.
Using Browser For Installation
For wifi protected setup methods, you require a router with the same functionality. So if you do not have the router with WPS button or you simply wish to perform the Wavlink wifi repeater setup manually, then read out the below written points one by one.
- After strategic placement, power on the repeater.
- As the power indicator turns stable, take your smart device. Go to the settings and enable wifi. Now pair with the signal “Wavlink-XXXX”. Tap on Connect.
- Move ahead and open the internet browser. It must be compatible, up-to-date and also to avoid any problem with the remaining Wavlink wifi repeater setup process, clear caches and cookies folder.
- Now in the URL blank fill any of these addresses:
- As you fill this up, click on Enter. Now fill in the security key. It is “admin”. Then select the language. With that tap on Login.
- After logging in, the main panel becomes accessible. Select Wizard option. Then fill in the accurate information into it. Once done tap on Connect.
- Finally, you can now customize the new network information and tie up the entire Wavlink wifi repeater setup process.
Forgot Login Passkey? Here’s The Fix
Want to relogin into the main panel but you no longer remember the login details? If yes, first you need not panic as this can happen to anybody. Remembering so many security keys is not an easy task. So recovering the same is easy through factory resetting. So here’s how you can reset the repeater and then reperform the Wavlink wifi repeater setup process.
- Power up the Wavlink signal repeater.
- Meanwhile the repeater is completing its booting process, go and grab a sharp object. It can be a sturdy toothpick, paperclip or pick a sim tray ejection pin.
- Now in the hole (reset) of the repeater insert the chosen object. Push it and wait for the power indicator to start fluttering.
- As it flutters, release it and wait for the extender to restart itself.
- Finally, you can now redo the setup.