Master Your Netgear Extender With Simple Steps
There is no doubt about the fact that the internet has become an essential part of our lives. We need access to reliable, super-fast, and smooth internet to carry out our day-to-day activities. From making payments, and doing work to communication, the internet plays a crucial role everywhere. So why settle on the bare minimum when you can amp up your internet connection by just installing one super powerful device named a Netgear EX3700 Wi-Fi range extender? As the name itself suggests it is a device that extends the range of your existing network. It spreads the internet signals like fire in every corner of your home thus completely eliminating dead zones. So without further ado let’s learn more about this device.
Features Of Netgear EX3700 Setup
Here are some commendable features of the Netgear EX3700 setup:
- Netgear EX3700 supports dual-band technology. It comes with one 2.4GHz band and another 5GHz frequency band which means it will offer better range and stability as compared to single band extenders. So If you have a big family or have multiple devices running in your home then dual-band routers can be your savior.
- The presence of the 802.11ac Wi-Fi Standard provides faster Wi-Fi speeds and better coverage as compared to older standards. So no more waiting time for downloads and uploads or interruptions while streaming HD videos.
- Its fast lane technology allows you to use both Wi-Fi bands simultaneously for a high-speed connection. You can simply compare it to the two-way highway which makes your driving experience super convenient.
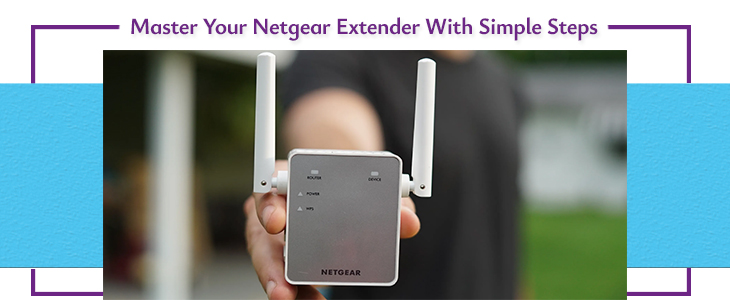
- Placement is the key when it comes to the best performance of the range extender. So to help you find that one perfect sweet spot, it comes with smart LED indicators that guide you towards the area where there is best Wi-Fi coverage.
- The availability of Ethernet Ports enables you to connect wired devices like gaming consoles or smart TVs directly to the extender.
Netgear EX3700 Setup Guide
Placement
Begin by placing the range extender near your host router. Place it in a central location where it can receive the signal from the router as well as near the area where you need extended coverage.
Power It On
Now plug the extender into an electrical outlet and switch it on for a proper supply of electricity. Once it’s on, wait for a few seconds for the LED light on it to stabilize.
Connect To The Extender
Take your preferred device, go to its Wi-Fi settings, and search for the network name “Netgear_EXT” in the list of available networks. On finding, connect to it.
Launch Web Browser
Now, launch a web browser of your choice and in its address bar enter the default web address which is “mywifiext.net” and press ‘Enter’. Simply follow the on-screen instructions to set up your extender.
Select Network
After connecting to the extender, select your existing Wi-Fi network that you want to extend and you’ll be prompted to enter the password of your existing network.
Complete The Setup
You can customize different settings as per your preferences. Once you do so, click on the “apply the changes” option. During this process, the extender might reboot itself. Once it reboots successfully you can connect your devices to the newly extended network. And that’s it your Netgear EX3700 Setup is completed successfully.