
How To Reset A Netgear Extender ?
Were you setting up a Netgear extender but the outcome wasn’t successful or you no longer remember the login password? If yes, then for both the scenarios as well as for resolving a major technical glitch you have to factory reset the extender. The factory resetting will erase off all the customization and will let you redo the installation from scratch. Now for resetting you can adopt two different methods. One is simple which is done using the reset button. Whereas the second method requires use of the web browser. So in this blog-post we’ll simplify the steps for both the resetting methods.
Factory Reset Using Reset Button
Firstly, power on the Netgear extender by plugging it into the well working power outlet. Let the extender start up properly. Its power indicator must turn stable. If the extender doesn’t start up automatically, then you have to press the power button from the extender’s side panel.
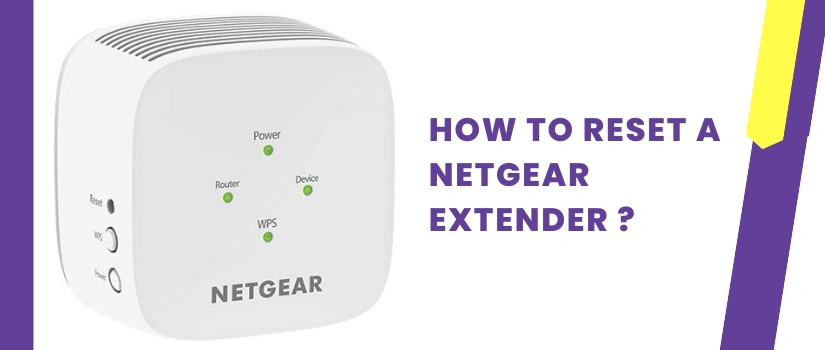
Now if your extender has a reset hole, then you need a straightened paper clip or an object that looks similar to it like a sturdy toothpick or sim ejecting pin. So take the object and insert into the reset hole. Push and hold on for a few seconds or till the power LED starts going back and forth. On release the Netgear range extender resets. It is ready for reconfiguration once its power LED turns stable again. If there is a proper reset button, then you just have to push and hold it till the status indicator starts fluttering.
Reset Via Web Browser
Sometimes the reset button or key doesn’t work. So in that case you can use the web browser. The steps for it are as follows:
- Firstly power on the range extender by supplying an adequate amount of electricity to it.
- Thereafter, let the extender start up properly. For this you can check the power indicator. It must show a stable light.
- Now take a smart device. Pair it to the range extender’s network. For this toggle wifi and use the credentials that are printed on the product label which is pasted on the bottom/back panel of the extender.
- Thereafter, launch firefox web browser or any browser of your preference like chrome, safari, internet explorer.
- Head to its URL blank. Into it type down mywifiext.net and click enter.
- Now fill in the login credentials to enter the main dashboard.
- Finally navigate to the option of Settings. Then tap on Other settings option and there you’ll find the option of reset. Tap on it and complete the resetting process.
How To Reconfigure The Extender?
Once the resetting process is complete, here’s how you can redo the setup:
- Bring the extender close by to the router.
- Repower it by connecting it to the power outlet.
- Wait for its power indicator to turn stable.
- Thereafter, on your router’s panel you’ll find the wifi protected setup button. Press it down and wait for the WPS indicator to go back and forth.
- Now immediately from the extender’s panel, push the WPS button. Its WPS light will also start flickering.
- Finally, you just have to hold on for a few seconds because once the WPS lights turn stable the setup completes.
- At last, you have to reposition the Netgear extender. Place it in the middle of the router and the area that doesn’t have wifi connectivity. Once you repower the device, it will start doing its job of extending the network seamlessly to a wider area.
For other queries and help, you can reach out to the expert technicians via phone call, chat and you can also write via email.